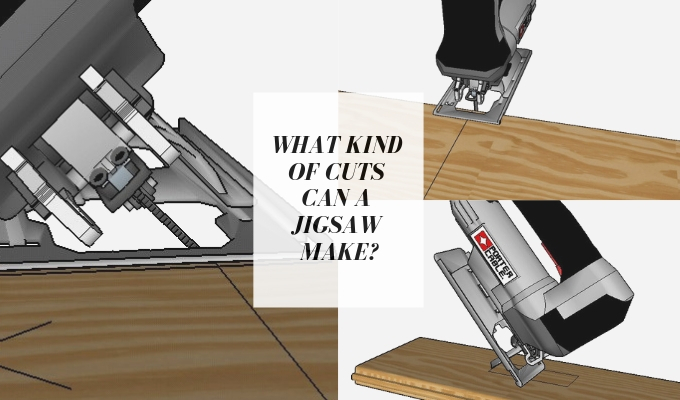
A jigsaw is a power tool that can make clean, precise cuts that need less finishing compared to, say, a table saw. Plus, it can do both straight and curved cuts too.
If you have the right type of blade, you can use the jigsaw to make cuts in a wide array of materials – wood, laminate, metal sheet, plastic and acrylic, and even cement-based boards and ceramic tile.
Aside from straight and clean rip, cross and curved cuts, most jigsaws have adjustable shoe guides that let you do bevel, miter, and even combination cuts as well.
Cutting a 45-degree angle on wood, laminate or similar materials is one of the most basic jobs you will encounter, whether you’re making furniture or adding some molding to a room.
There are two broad categories of angled cuts you can make with a jigsaw, and for square joints, you’d be looking for a 45-degree miter cut or a 45-degree bevel cut.
How to Cut a 45-degree Angle (Miter) With A Jigsaw
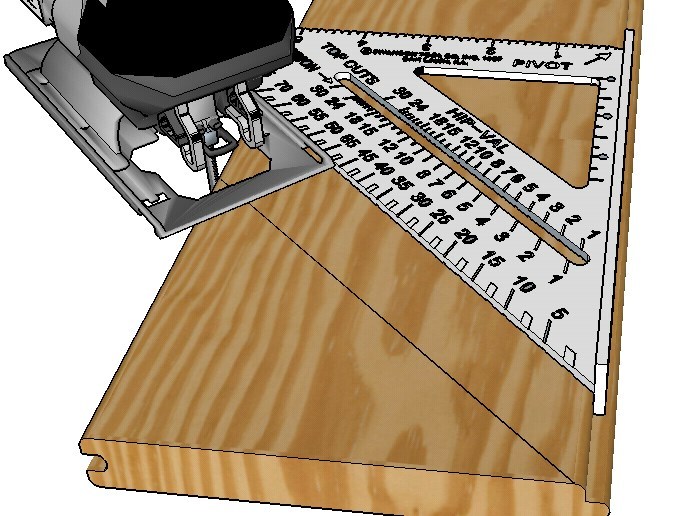
45 Degree Miter Cut With Jigsaw
Both miter cuts and bevel cuts make angled cuts on the work piece. In general, though, a miter cut is a cut you make across the face of the workpiece at an angle, which makes it somewhere between a rip cut and a cross cut if you’re working with a wood board.
Simple miter cuts on boards are made with the jigsaw blade pointed straight down, or up if it is mounted into a sawing table.
A bevel cut, on the other hand, is a cut you make with the blade at an angle, and usually along the edge of the wood. More on bevel cuts later – for this part, let’s look at the 45-degree miter cut made with a jigsaw.
Like with most cuts, an accurate 45-degree angle miter cut with a jigsaw starts with an accurate cutting line as a guide.
You will need a straightedge to draw your desired line across the material. The line would help you keep your jigsaw on track while you are in the middle of cutting.
For an accurate 45-degree angle, a combination square or a speed square will give you a good reference for penciling down a guide line.
While you’re at it, pencil an X to mark the waste side as well. You want to keep the blade on the waste side of your guide line to give you that bit of extra material to leave you room for finishing.
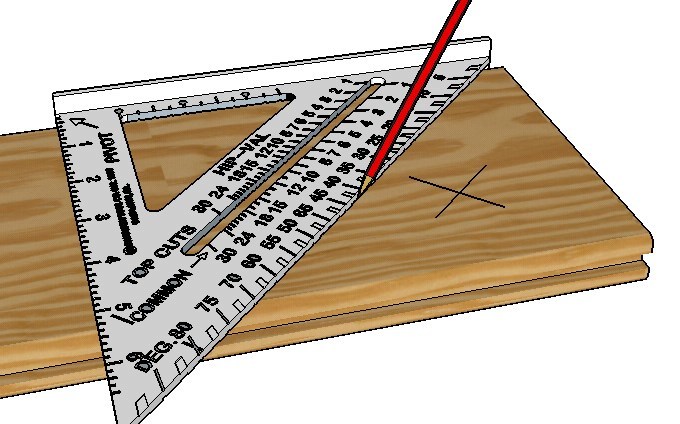
Marking Your 45 Degree Angle For Your Cut
Most rough cuts can be done following a pencil cutting line and a straightedge. For the most accurate of 45-degree angle straight cuts, though, you can opt to use a marking knife instead.
The marks from a marking knife are much thinner and more precise than what you can do with a pencil or a snap chalk line.
Bring the jigsaw blade close to the edge of the work piece, and bring it up to speed before pushing it against the material.
Focus on following the cutting line, and let the saw blade do the work of cutting the piece.
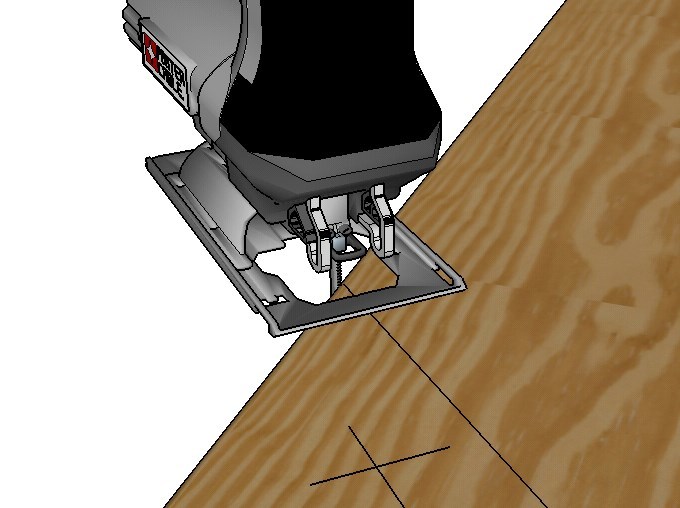
Start Point For Jigsaw On 45 Degree Miter Cut
For long cuts, a straightedge or a piece of straight lumber clamped to the work piece can serve as a fence to guide the shoe of your jigsaw.
This will make your 45-degree angled cut straight and true, which is crucial if you’re using that piece as half of a miter joint.
How to Make a Bevel Cut With A Jigsaw
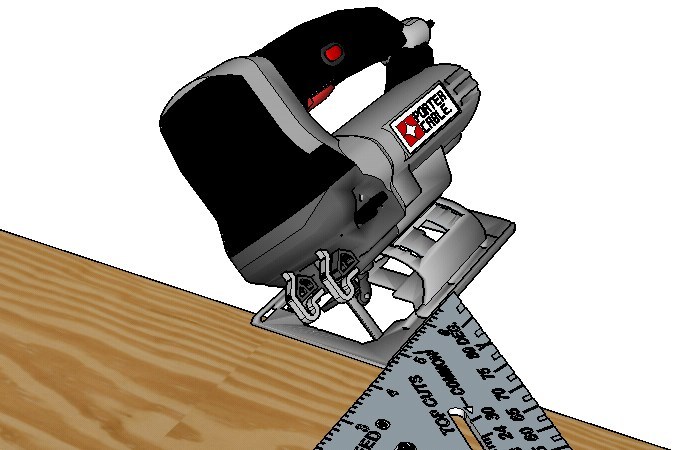
45 Degree Bevel Cut With Jigsaw
To make a bevel cut with a jigsaw, the jigsaw blade has to be at an angle relative to the face of the board or material you are cutting.
The trick here is making sure that the angle the blade is set at remains consistent throughout the cut, for a clean, accurate bevel cut – usually at a 45-degree angle.
The first step is to mark the cutting line. Just like with a straight or miter cut, you want a clean, accurate cutting line, preferably with the waste side marked out.
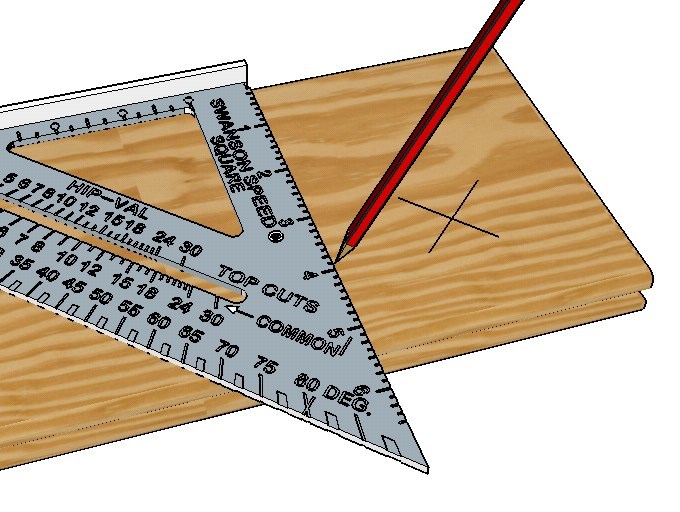
Marking Your Board For Your Cut
Adjust The Jigsaw's Shoe To The Angle: The next step depends on the jigsaw that you have. Some jigsaws come with tool-less bevel adjustment features, while others will have you dealing with several screws.
To adjust the show of a jigsaw that features tool-less bevel adjustment, find the shoe adjustment lever and pull it to unlock the shoe. You can refer to your jigsaw’s user manual on how to go about this.
Once the shoe is unlocked, tilt the shoe and check with the jigsaw’s bevel scale. Set the shoe at an angle against the blade until you have the angle you need.
Hold the shoe at that angle as you re-lock the shoe in place using the shoe adjustment lever.
Check that the shoe is locked tight in place, and the bevel scale shows the indicator at the angle you want.
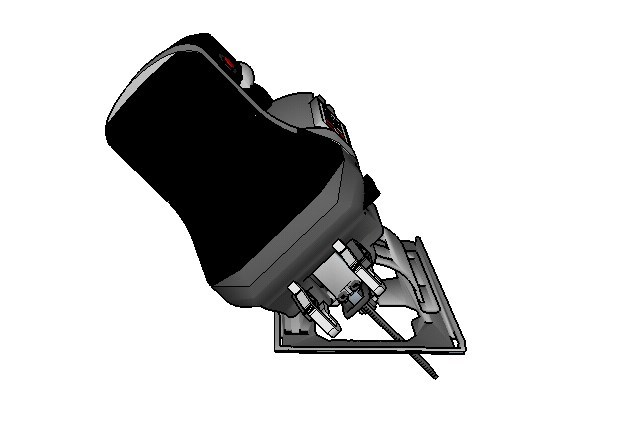
Tilting Your Jigsaw At A 45 Degree Angle
Some jigsaws will require you to loosen one or more screws to unlock the shoe. In that case, loosen the screw(s) first, then tilt the shoe at the desired angle before retightening the screw(s) back in place.
It’s always a good idea to confirm the angle with a protractor or a combination square after adjusting the jigsaw show.
To make the bevel cut, turn on the jigsaw and let the blade get up to speed before slowly easing it into the work piece. For accurate bevel cuts, you can make a guide fence by clamping a straightedge to the work piece for the shoe to follow.
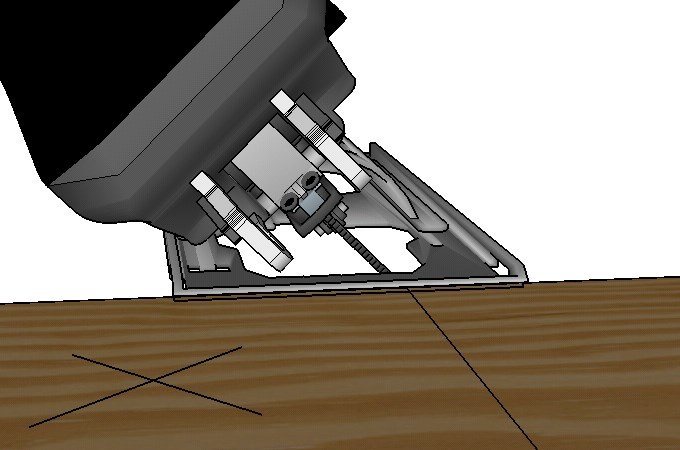
Start Point For Jigsaw On 45 Degree Bevel Cut
Pay attention to the line and the fence, and let the jigsaw blade do the work of cutting.
How to Do a Plunge Cut Using A Jigsaw...
A plunge cut is a cut started not at the edge, but right in the middle of the work piece – often without the aid of a pilot hole. Making plunge cuts is one of the reasons to get a jigsaw.
That said, a jigsaw can only make a plunge cut if it has a plunge cut blade with a sharp tip.
Keep in mind that plunge cuts should be done in softer, thinner materials such as wood boards, plasterboards, or veneer.
Delicate materials like acrylic are better off done with a pilot hole drilled first. The same holds for harder materials like metal or ceramic.
Before doing any plunge cuts, make sure your jigsaw has a plunge tip blade loaded and the orbital action feature is turned off. You do not want the plunge tip wandering from the plunge point.
First, mark the cutting line or shape on the work piece. If you are making cut-outs on pre-installed panels of plasterboard or laminate, make sure that there are no studs, nails, or wiring behind the work piece you will be cutting into.
To start the plunge cut, position the blade first so it is nearly parallel to the surface of the work piece, while still in line with the cutting line you made earlier. Start the jigsaw and let it pick up speed.
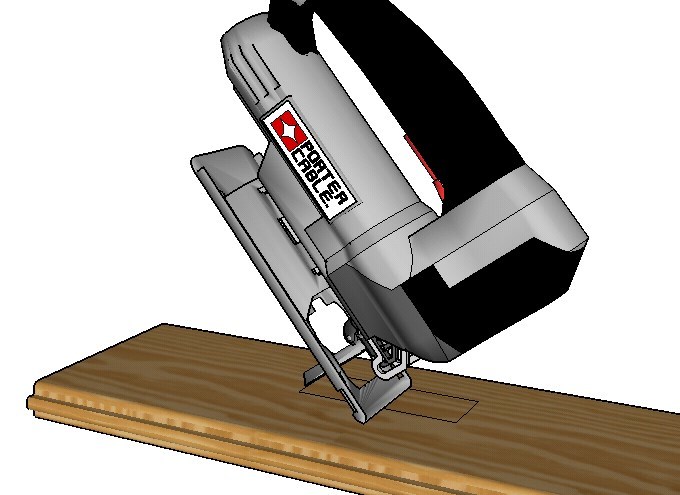
Making A Plunge Cut With A Jigsaw
With the blade running, slowly tilt the jigsaw and the moving blade into the material until it breaks through the other side.
Steadily tilt the jigsaw into the work piece until the shoe is fully in contact with the surface.
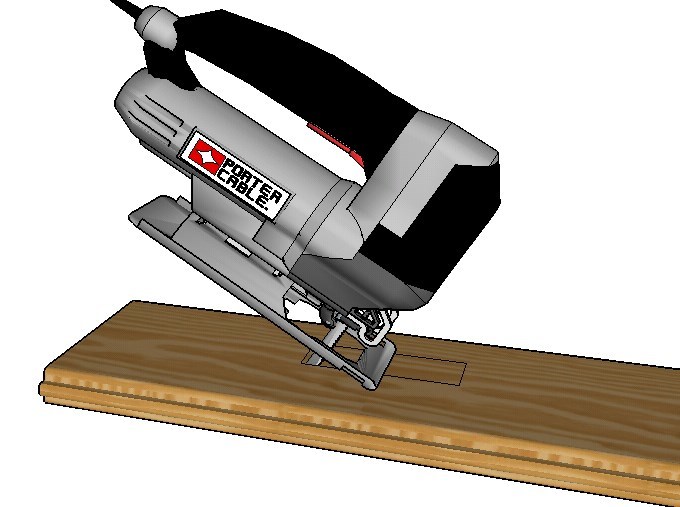
Making A Plunge Cut With A Jigsaw Step 2
Now that the blade has fully penetrated the work piece, you can slowly bring the jigsaw along the cutting lines to finish the cut.
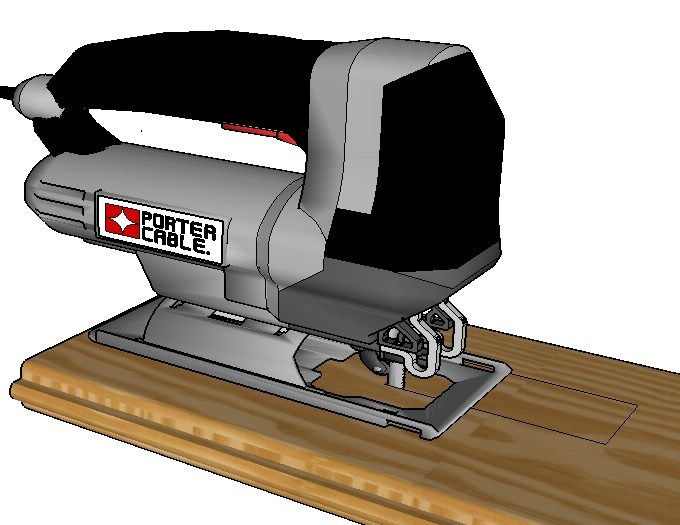
Making A Plunge Cut With A Jigsaw Step 3
How To Make A 90-degree Cut With A Jigsaw...
The two basic 90 degree cuts that can be done with a jigsaw consist of a crosscut and a rip cut, both of which can be done.
As with all cuts, you want to make your cutting lines clear and accurate before committing to them. 90-degree lines are easy to make with a speed square and a pencil as shown below.

When marking boards for longer rip cuts, mark each end of the board and use a straightedge to connect the two measurement marks.
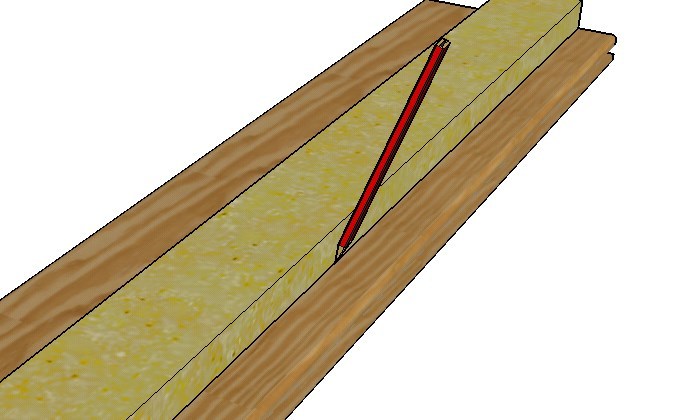
Position the jigsaw on the side of the correct side of the line (the piece you are not keeping) and start the jigsaw. You will want it to get up to full speed before making contact with the material.
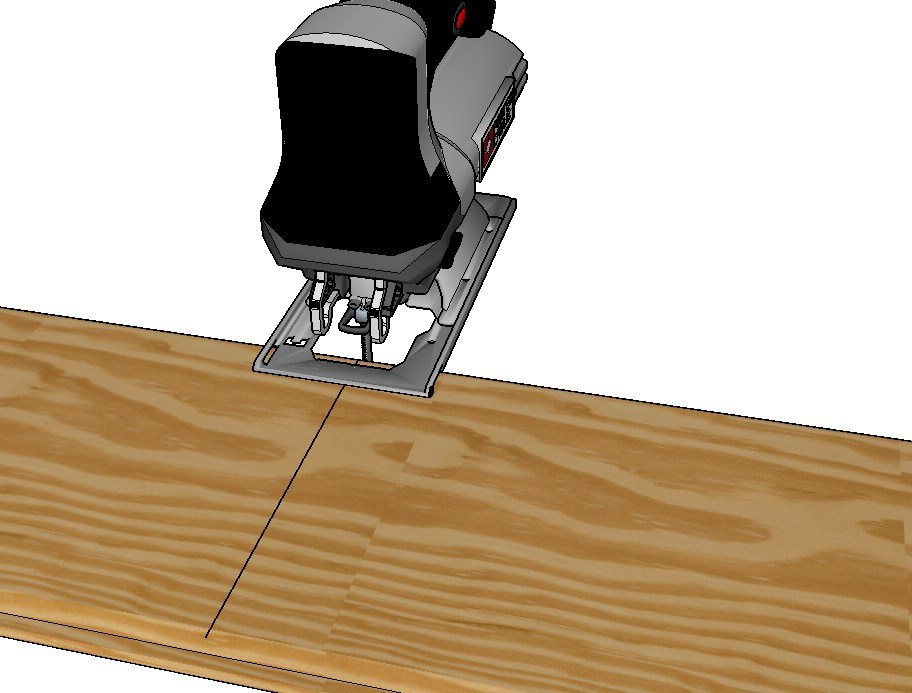
Start Point For Jigsaw On 90 Degree Cross Cut
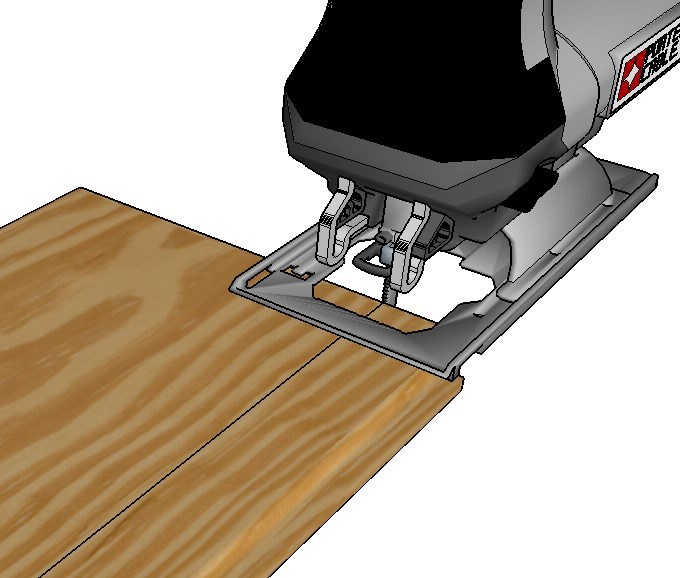
Start Point For Jigsaw On 90 Degree Rip Cut
Continue cutting through the board and maintain your speed even after you have finished the cut for a smooth, even cut all the way through.
Tips That Can Really Help You Out...
- Jigsaw blades make the cut on the upstroke, except if you are using reverse teeth blades. That means the side facing up will be more ripped up compared to the other side.
You want to make your cuts and your guidelines on the reverse side of the board that will not be visible, as much as possible. - Before you make any cuts, it’s a good idea to check the blade itself for squareness.
Check that the blade is pointing at your desired angles (90 and 45 degrees in this example) with respect to the shoe, especially if you are using a jigsaw with an adjustable shoe guide.
If the blade is bent in some way, it will flex during the cut – you’re better off replacing it. You can achieve this with a speed square. - Do keep in mind that boards or existing corners may not be perfectly square, which is an important thing to remember before using an existing side or corner as a reference point.

